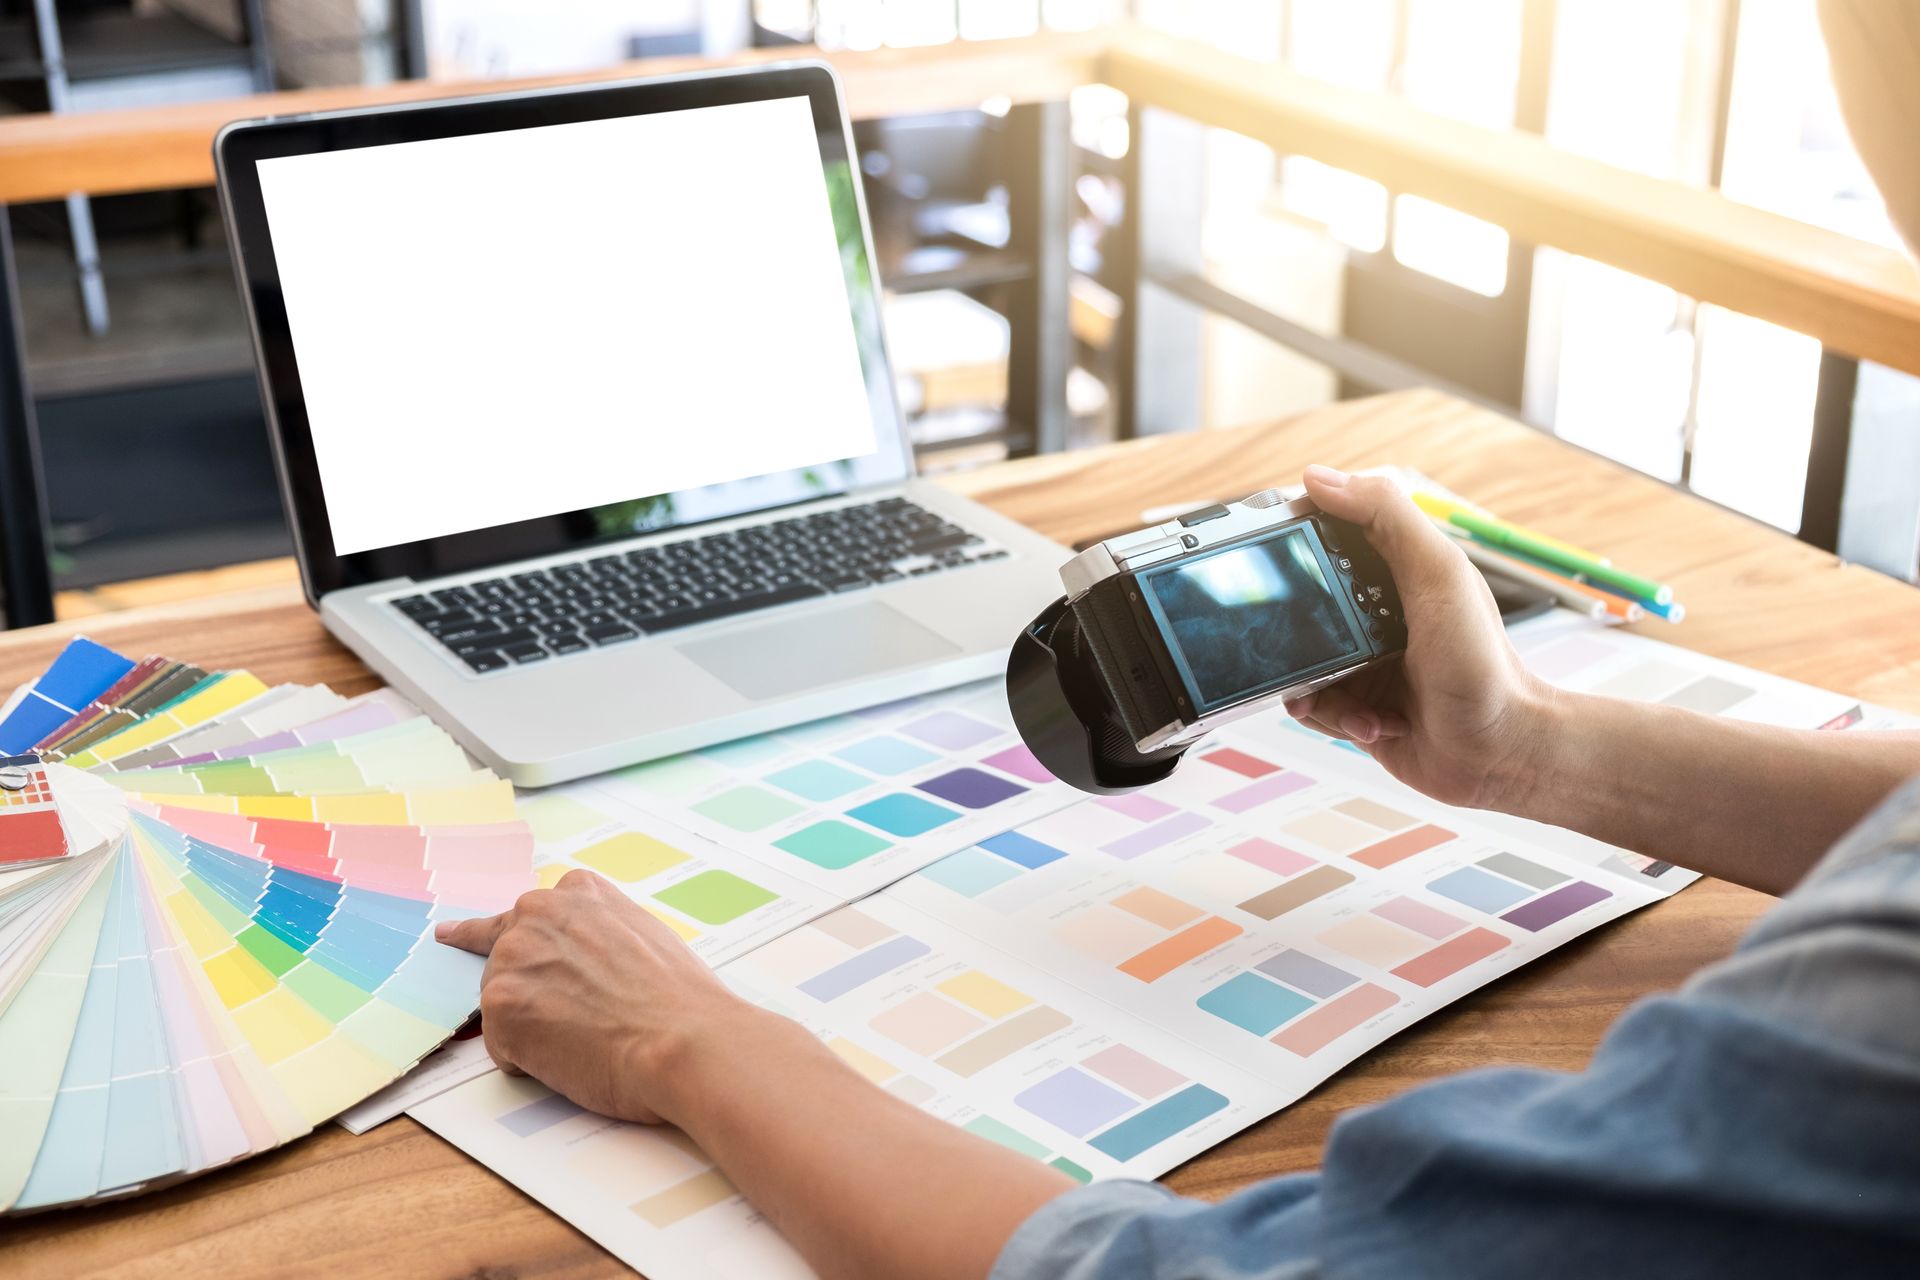
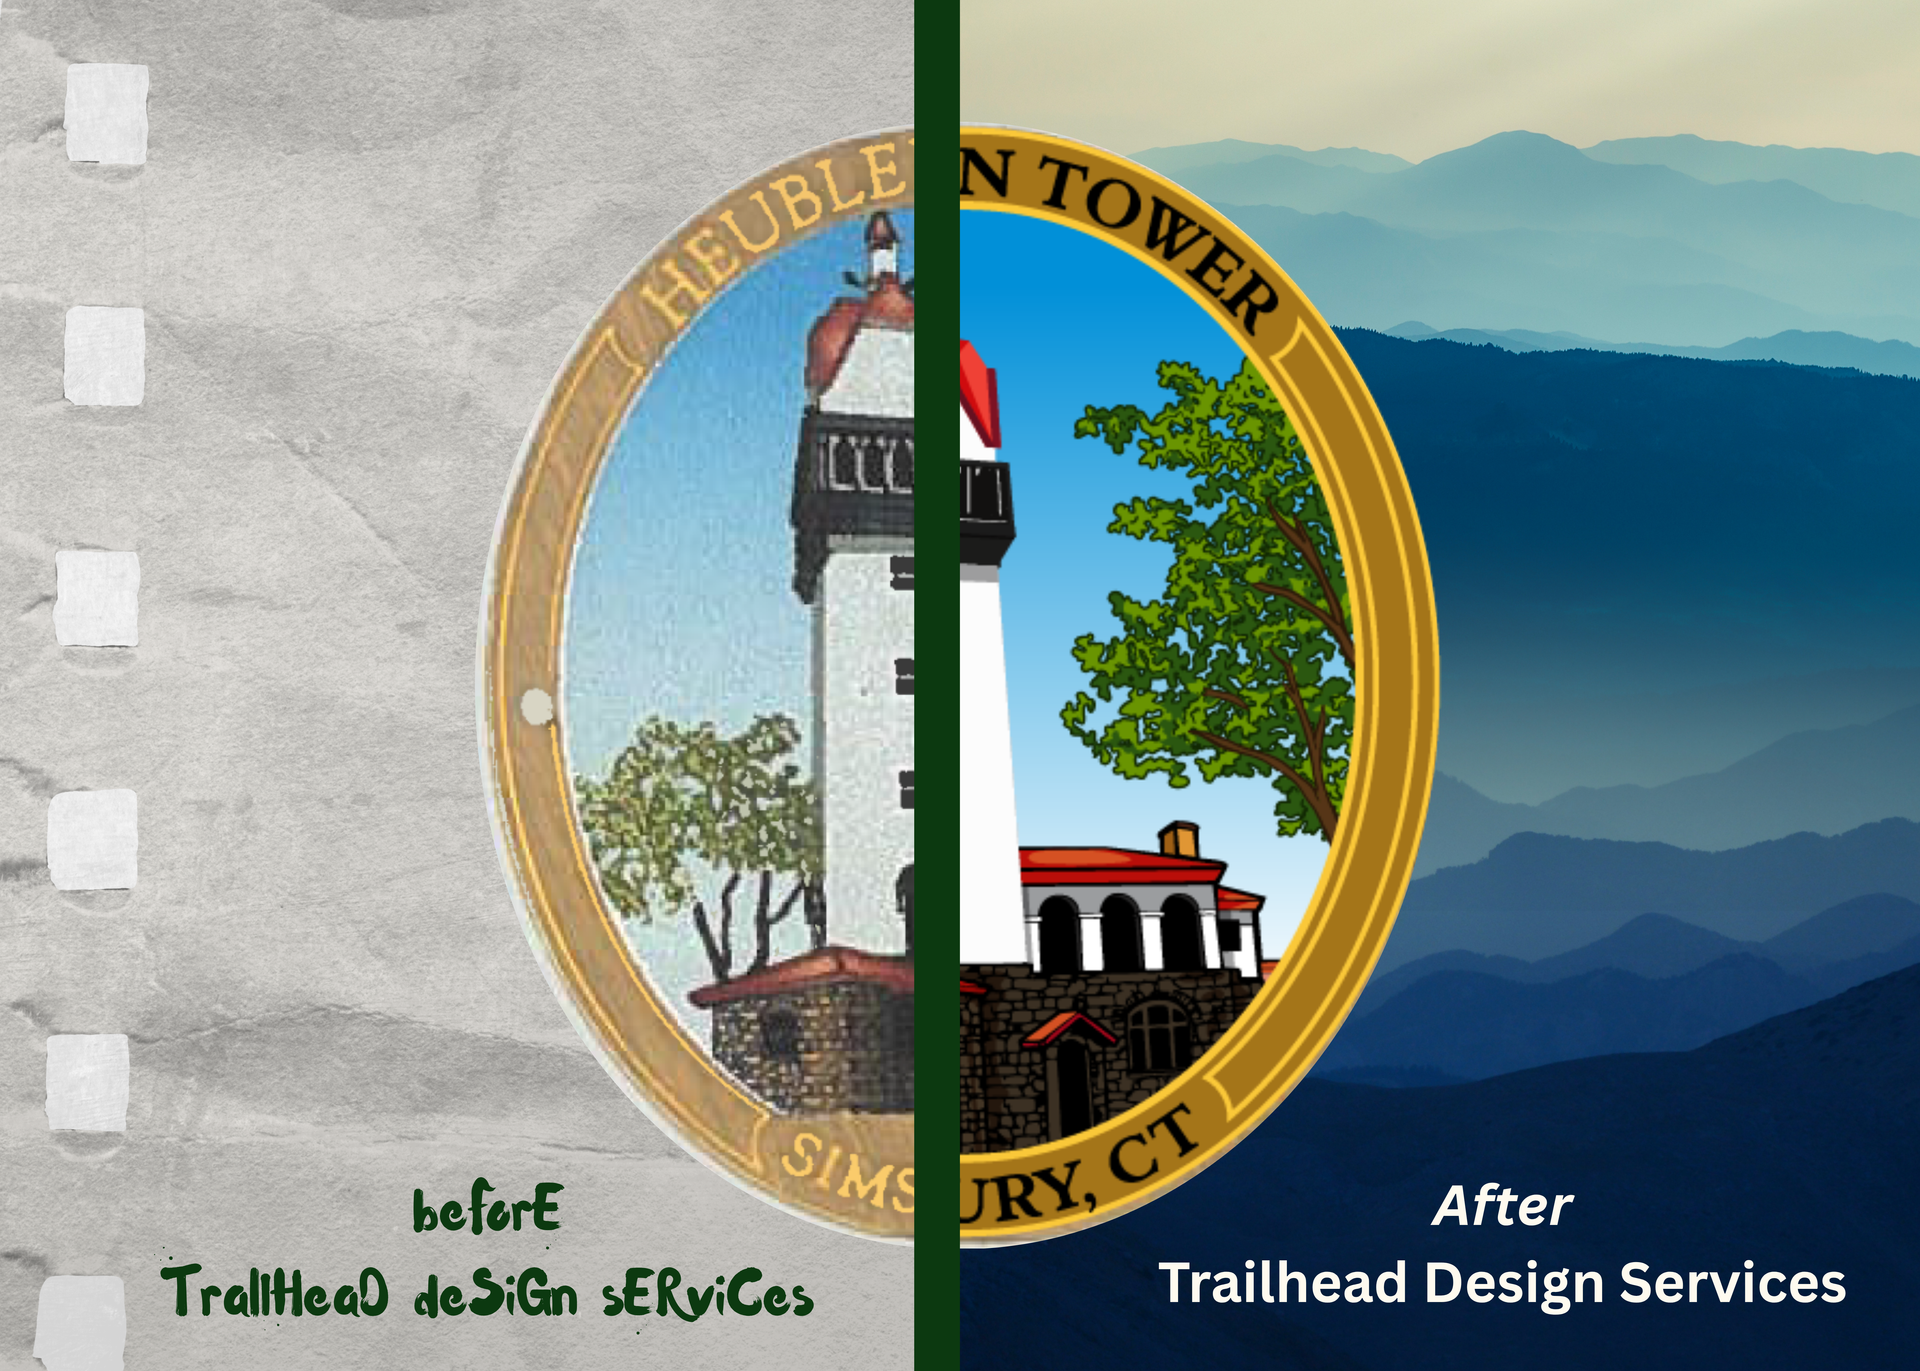
First impressions matter. Whether you are handing a potential client a business card, hanging a banner for a local event, or sending out a direct mail campaign, your visual identity speaks volumes before a single word is read. Trailhead Printing has been your trusted partner for putting ink on paper. Today, we are thrilled to announce that we are taking our partnership a step further: Introducing Trailhead Printing’s New Design Services. We realized that many of our clients were coming to us with fantastic ideas but lacked the high-quality, print-ready files needed to make those ideas pop. You shouldn't have to juggle a separate freelance designer, wait weeks for files, and then bring them to a printer. We are bringing the entire creative process under one roof. Professional Quality That Speaks for Itself Our professional design team is dedicated to elevating your brand with polished, professional-grade graphics. Whether you need a complete logo overhaul, a fresh brochure layout, or just need to clean up an old, pixelated image, we have the tools and the talent to make it happen. Fast Turnaround Without Compromise We know that in business, time is money. A major pain point with traditional graphic design agencies is the agonizing wait time for proofs, revisions, and final files. Because our design team works directly alongside our print production team, we eliminate the middleman and the bottleneck. Our workflow is built for speed and efficiency , ensuring quick, quality turnaround. We transition your project seamlessly from the digital design phase straight to the printing press. You get your proofs faster, your revisions handled promptly, and your final printed materials in hand exactly when you need them.
How a pull-up banner can help your Connecticut business market itself in 2026.
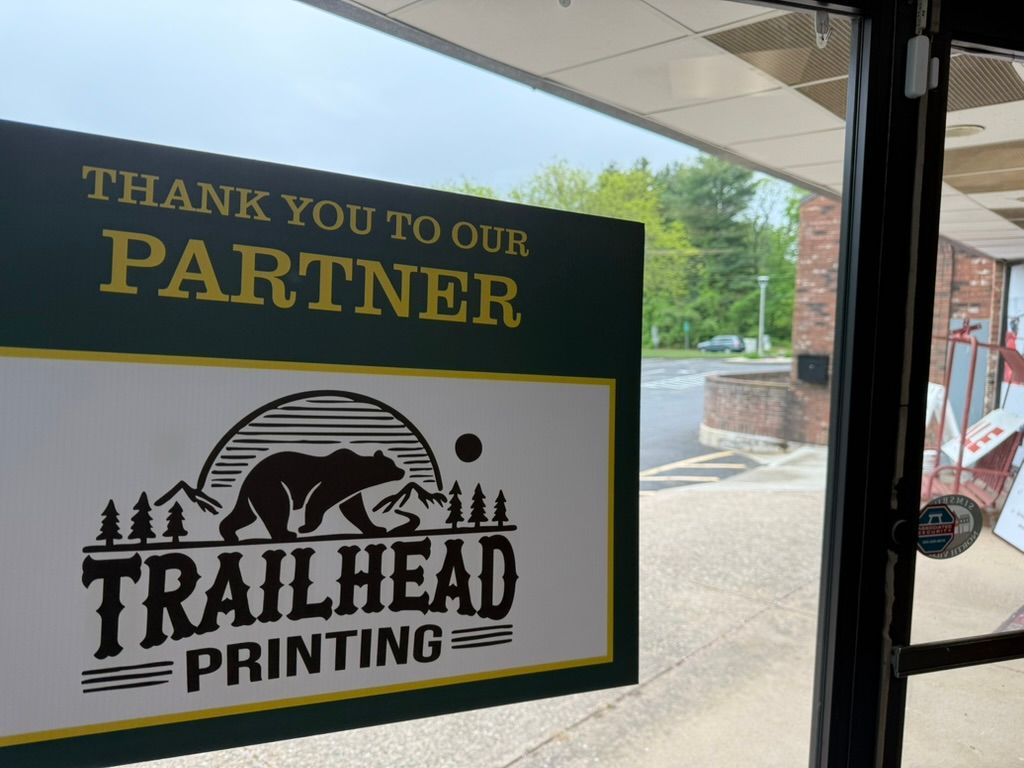
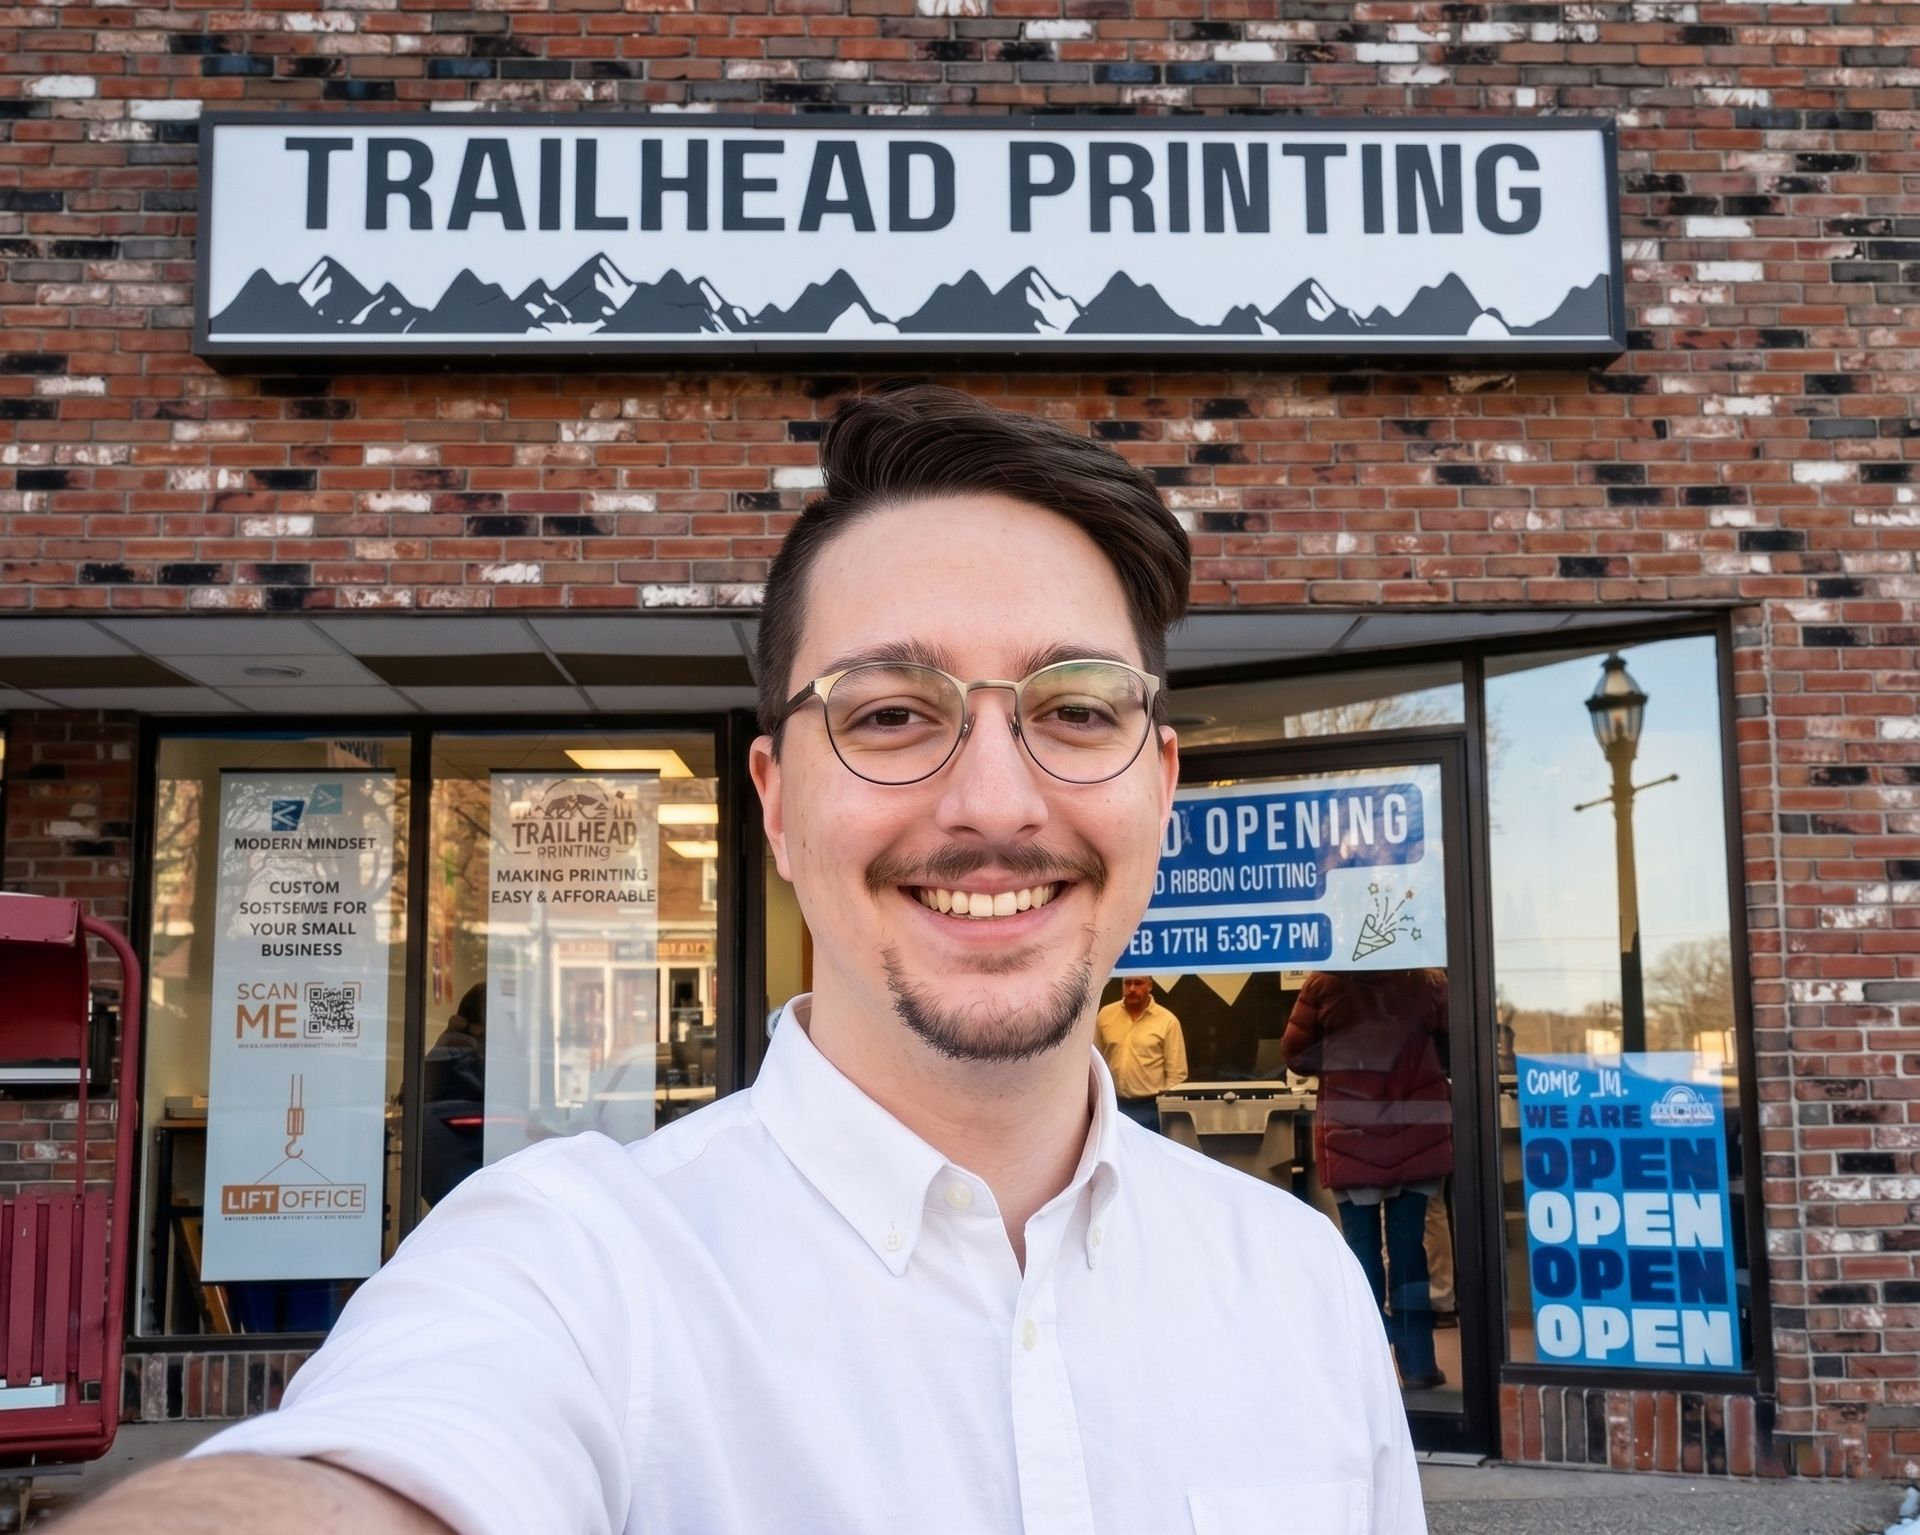
Trailhead Printing helps businesses and organizations throughout the Farmington Valley create quality print materials with local expertise, guidance, and service.
Overwhelmed by starting a small business in CT? Trailhead Printing breaks down the essential branding, online, and print basics you actually need to start out.
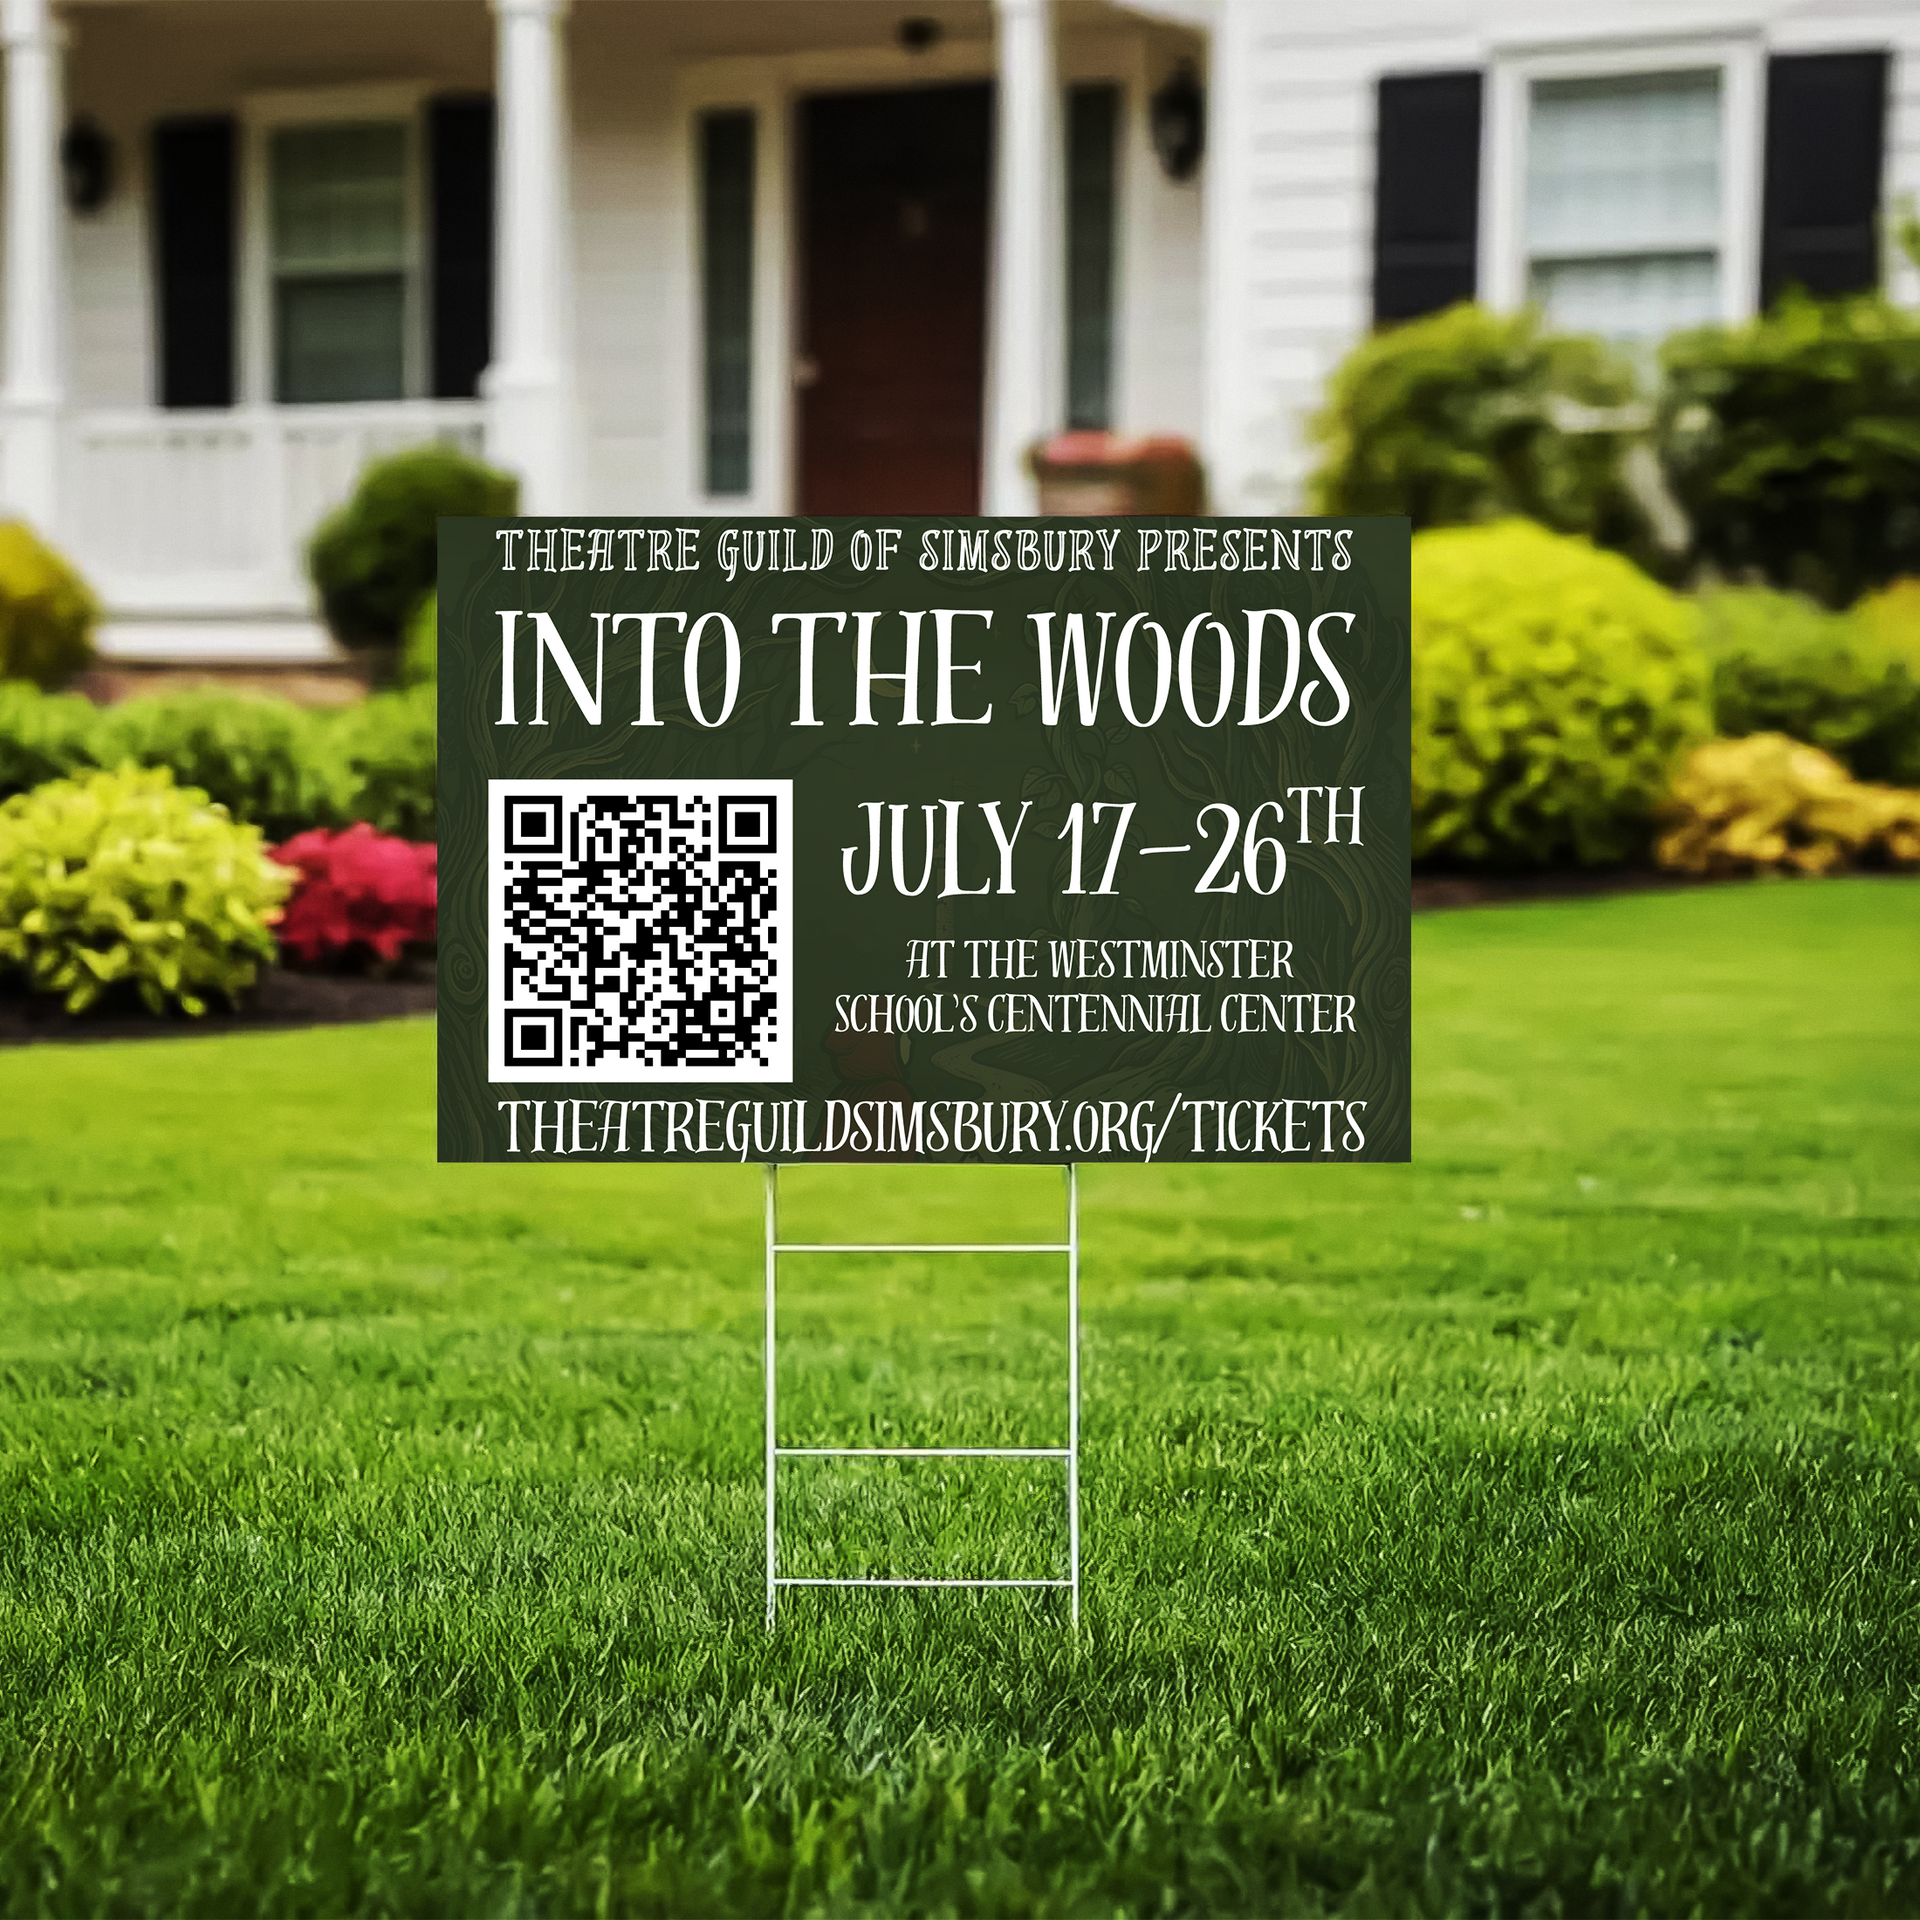
What’s the fastest way to capture local attention? Discover the power of strategic lawn signs and why Trailhead is your ultimate destination for local marketing.
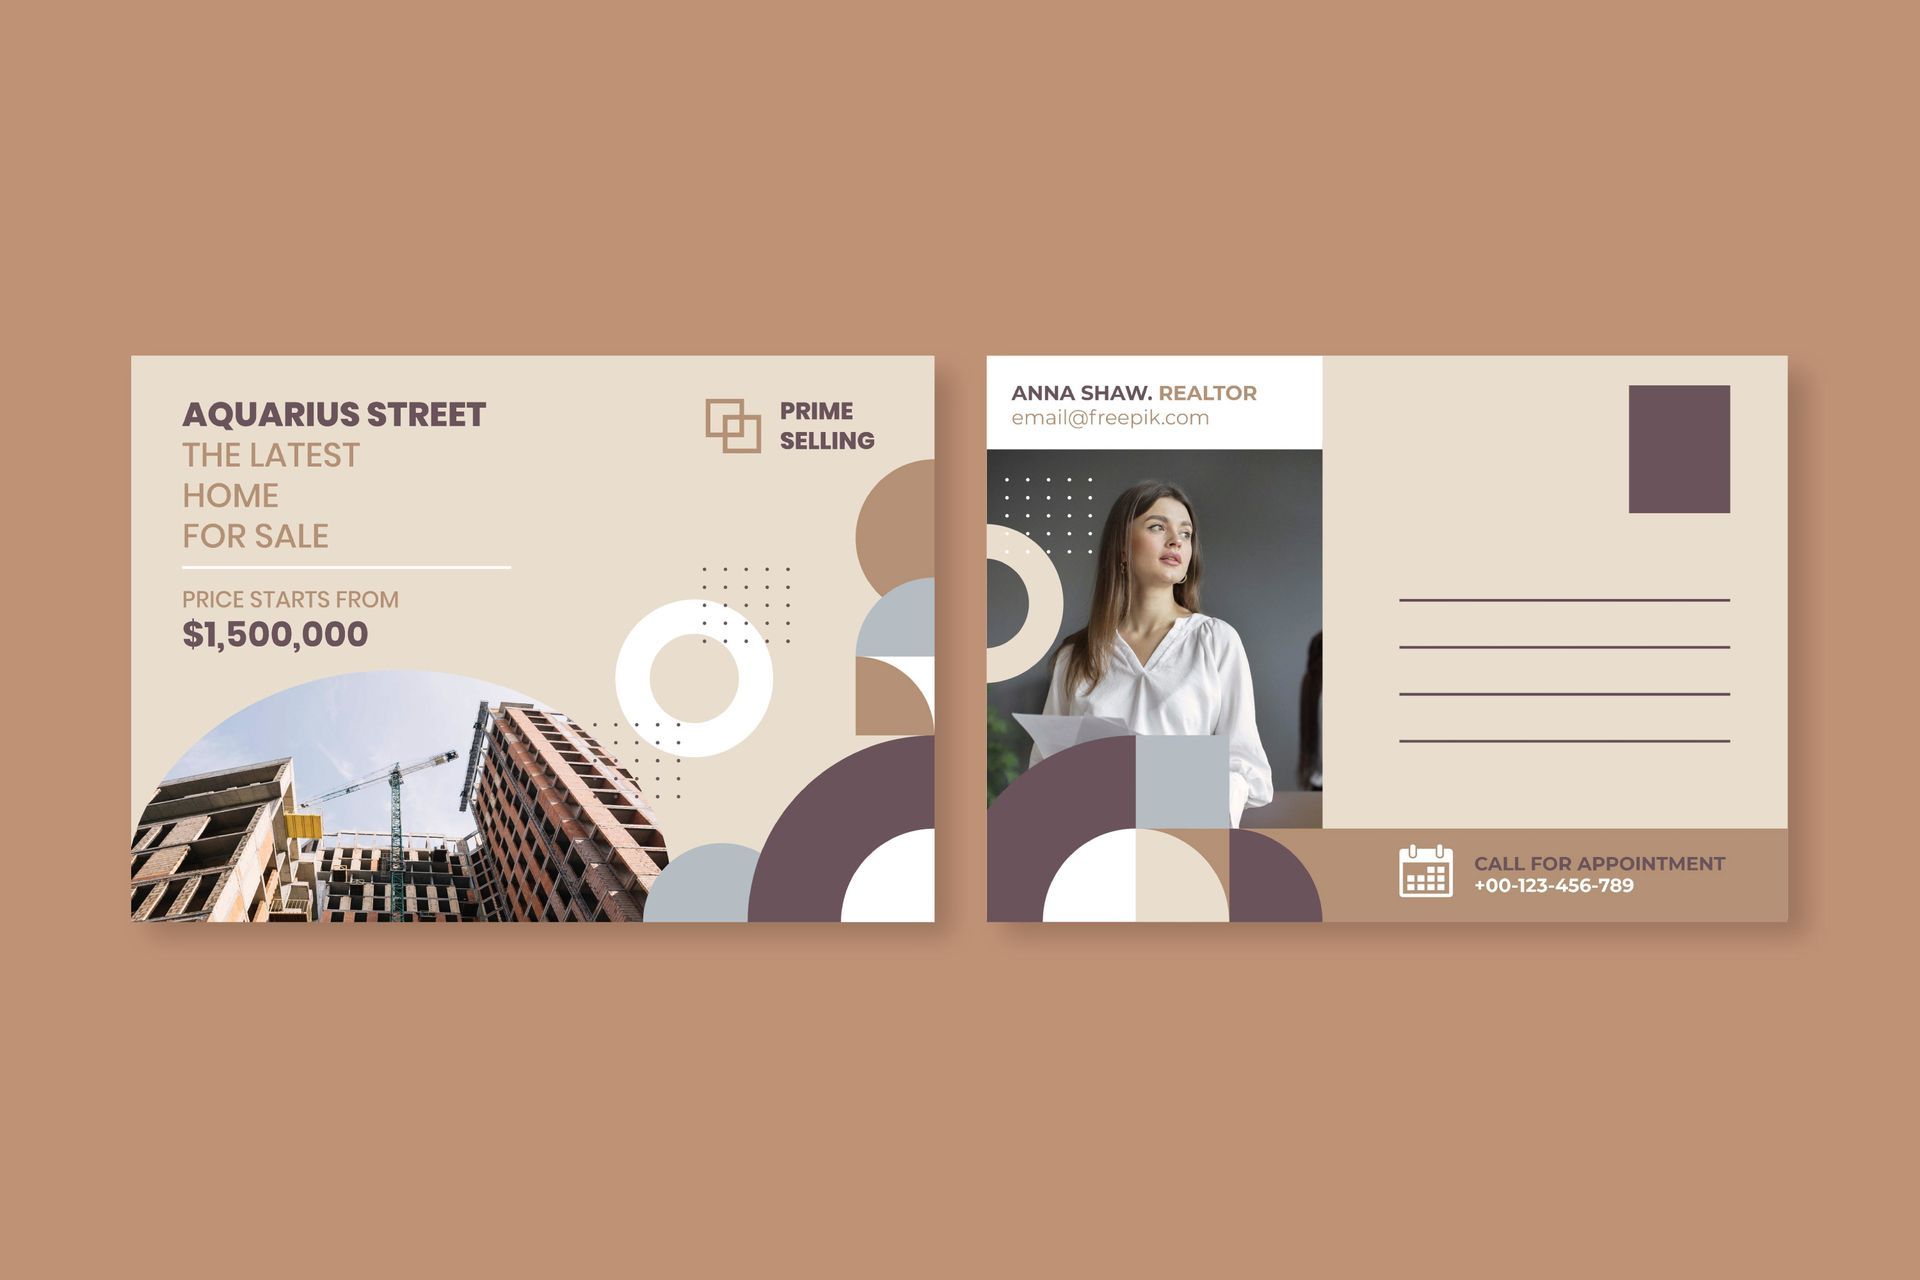
Want to cut through a crowded digital inbox? Discover why tangible postcards leave a lasting impression and why Trailhead is your ultimate campaign destination.

Selling your pre-loved wardrobe on Vinted is an amazing way to declutter and make some extra cash. But once you hear that satisfying "cha-ching" of a sale, the next question is always: Where do I actually take this package? If you are choosing Vinted Go for its budget-friendly and convenient shipping, here is everything you need to know about dropping off your sales and picking up your new favorite finds. What is Vinted Go? Vinted Go is Vinted’s dedicated shipping service designed to make buying and selling smoother. Instead of waiting at home for couriers or dealing with traditional post office lines, Vinted Go relies on a network of local PUDO (Pick Up, Drop Off) spots—like automated lockers and partner retail shops—to keep your parcels moving. Where can I drop off or pick up my packages? You can easily route your packages through: Vinted Go Lockers: Dedicated, secure electronic lockers usually found in high-traffic areas like supermarkets or transit hubs. You just scan your barcode, and a locker door pops open. Partner Shops: Local convenience stores, newsagents, and retail shops that act as official counters for Vinted Go. Exciting News: A New Local Spot is Coming Soon! Finding a convenient drop-off spot is about to get even easier for our local community. We are thrilled to announce that Trailhead Printing in Simsbury, CT will be joining the Vinted Go network as an official site in the coming weeks! Soon, you'll be able to swing by, get your printing needs sorted, and drop off your Vinted sales or collect your incoming orders all in one quick trip. FAQs: How It Works How do I drop off a package? Package your item securely. Download your digital shipping label/QR code from the Vinted app. Bring it to a Vinted Go locker or a partner site like Trailhead Printing (once we go live!). Scan your code, hand over the package (or place it in the locker), and you're good to go! How do I pick up a package? When your purchase arrives at your selected location, you’ll receive a notification and a unique PIN or barcode via the Vinted app. Just head over to the counter or locker, show or scan your code, and claim your parcel. How do I know when Trailhead Printing is ready? Keep an eye on your Vinted Map when choosing your shipping options! In just a few short weeks, you’ll see Trailhead Printing pop up as an available location for all your shipping and collecting needs. Happy selling, and we look forward to seeing you (and your parcels) at Trailhead Printing very soon!

Reduce admin burdens for schools and HR. Trail Head’s custom team stores seamlessly handle online orders, individual wrapping, and profit-sharing.

Stop paying hidden fees for poor service. Learn why partnering with a local print shop like Trail Head offers better value and expert advice.